Step 1: Find the Perfect Vintage Radio
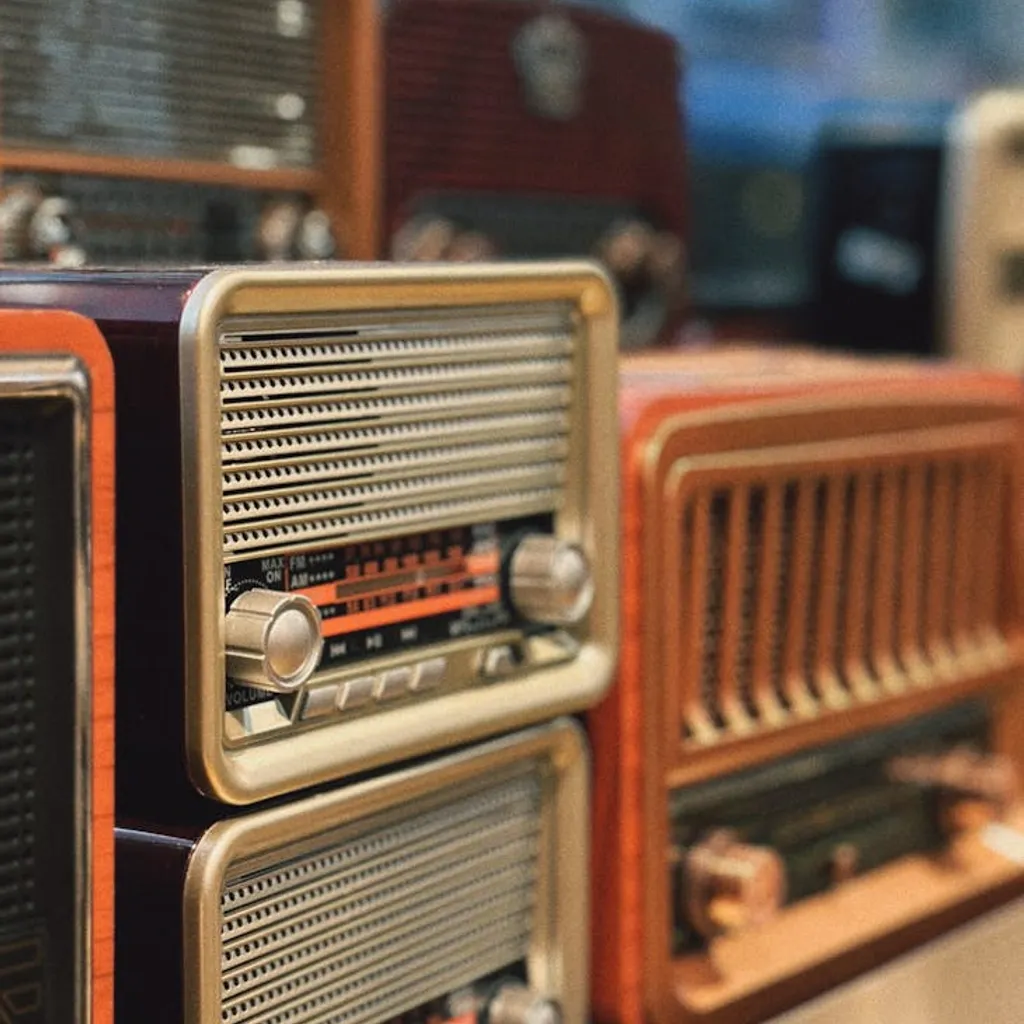
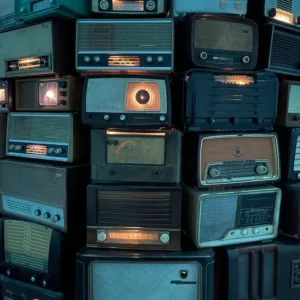
Start by selecting a vintage radio with a design that speaks to you. Whether you’ve got an old AM/FM radio in storage or plan to find one at a flea market or online, look for one with a style that complements your space. Anything from mid-century models to unique international designs can work, as long as it has enough internal space for a Bluetooth module and battery.
Step 2: Gather Your Components
You’ll need a basic Bluetooth speaker to use as the core of your project. Look for an entry-level model, which you can find for around €6–€10. You’ll only need the Bluetooth module, rechargeable battery, and possibly the speaker, so an inexpensive or second-hand speaker is ideal.
Materials Checklist:
- Vintage radio
- Bluetooth speaker (for components)
- Soldering iron
- USB charging cable
- Optional: a more powerful speaker and a larger battery for extended playtime
Step 3: Dismantle the Bluetooth Speaker
Carefully dismantle your Bluetooth speaker to access the Bluetooth module, speaker, and battery. Keep the on/off switch and USB charging port intact for ease of use. Remove any unnecessary parts, such as the radio tuner or frequency dials from the original radio if they are not needed for aesthetics.
Step 4: Connect the Bluetooth Module to the Radio Speaker
Once you have the Bluetooth transmitter, you’ll need to connect it to the original speaker in the vintage radio. Here’s how:
- Solder the wires from the radio’s speaker to the output contacts on the Bluetooth module. These should be the same contacts that connected to the speaker in the Bluetooth device.
- Ensure that the battery from the Bluetooth speaker will fit within the radio’s original battery compartment or another convenient spot inside the radio.
- Position the USB port where you can easily access it for charging, using the radio’s existing battery compartment if possible.
Step 5: Final Touches and Assembly
Carefully place the Bluetooth module and battery inside the radio’s casing. Ensure that the USB charging port is accessible, and secure all components so they stay in place. If your radio has extra space, you may consider upgrading to a more powerful speaker or a larger battery for longer playtime, but this may require additional power support.
Step 6: Retain the Radio’s Vintage Look
To maintain the radio’s classic look, avoid removing or altering visible components such as dials or knobs. The goal is to give it Bluetooth functionality without losing its original charm. For a truly seamless look, consider only minor adjustments that allow the radio to retain its classic appeal.
Optional: Boosting Audio and Battery Capacity
For a richer sound, consider replacing the original speaker with a higher-quality one that fits the radio’s interior. You may also add a larger rechargeable battery (e.g., 2,500 mAh or more) to increase playback time between charges.
Enjoying Your New Vintage Bluetooth Radio
With your retrofitted Bluetooth radio, you now have a functional speaker that marries the charm of vintage design with modern tech. This DIY project not only brings new life to an old piece but also makes for a unique and stylish addition to your home.
